Are We Really Doing This??? Should be alright...
Jim and I are nurses....not carpenters, painters, or designers. Our idea of a cool design is a horseshoe stitch for a chest tube. It's been an interesting process...and I'm sure it will get more interesting as we get closer to the wedding day! I'll keep adding as we complete projects. :)
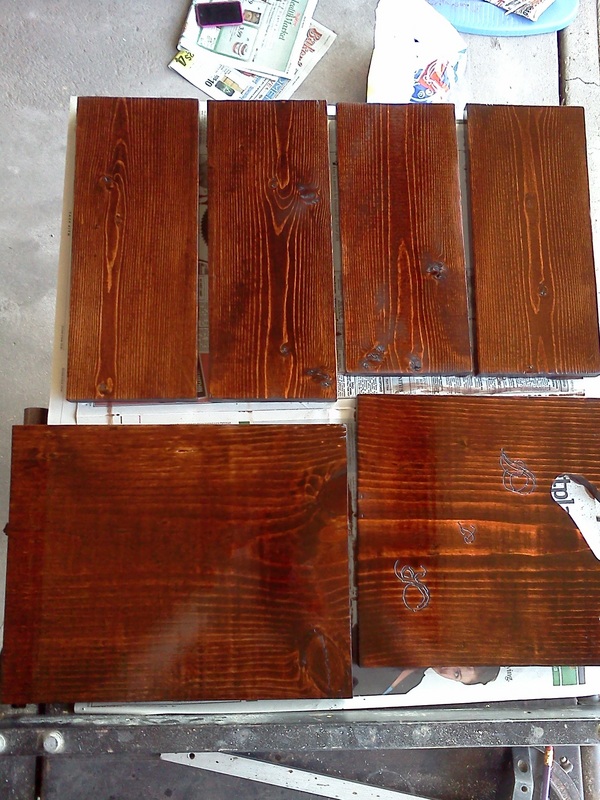
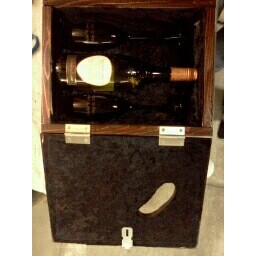
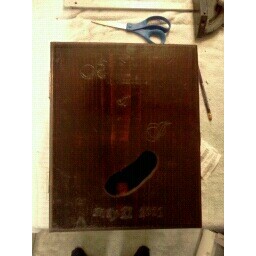
Wine/Love Letter Box
Obviously, I'm SUPER excited about this! This was one of the very first DIY projects we started, and it's the last to finish! :) Due to moving, weather, and technical difficulites, this took MUCH longer than anticipated. BUT....here it is! We started off with pine wood. Obviously, cut, sanded, and stained everything. Months and months and MONTHS later, we began working on it again. :) We figured out what we wanted to engrave on the front, and printed it out. Traced it as best as we could, then used a router to make it. Our initals and the date are engraved on the front. I had seen a box online (that sold for around $400. Kiss my arse!), and I liked that you could see a little bit inside and it was a kidney-shaped hole. We took that idea and ran with it. :) All the pieces were then screwed together. Then we used this conforming foam (bought at Michael's) and covered that and the insides with satin fabric, glued down with Tacky Glue. The hinges and the hook for the lock were screwed in. We just need to buy a small lock and key, but it is done! The wine is something that I actually like (shocking!) and we will be drinking that on our wedding day. The glasses are black (one of our colors) and engraved with our names and the wedding date. Not nearly as cool as our reception flutes, but we liked that they're black. :) Forgive the dust and fingerprints...we need to try to clean it off. I can't wait to put our letters inside and lock this box. :) We are calling it "Locking the Box" in our programs. <3!!!
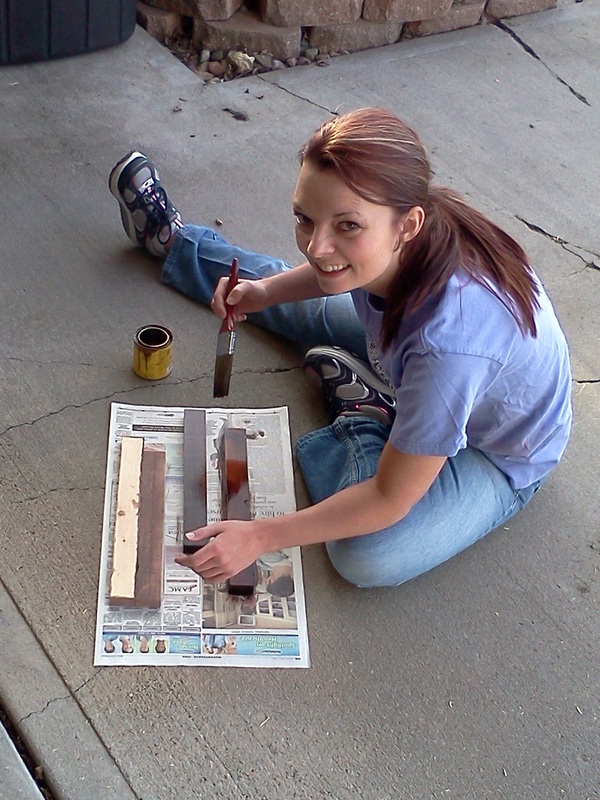

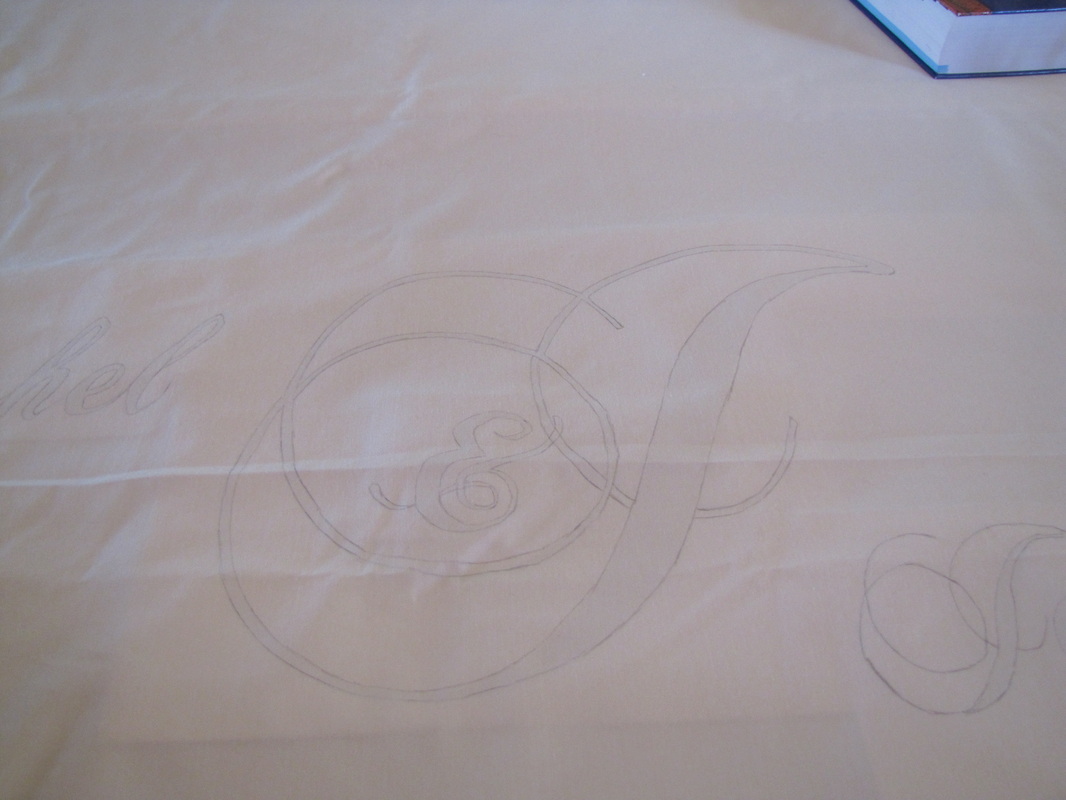
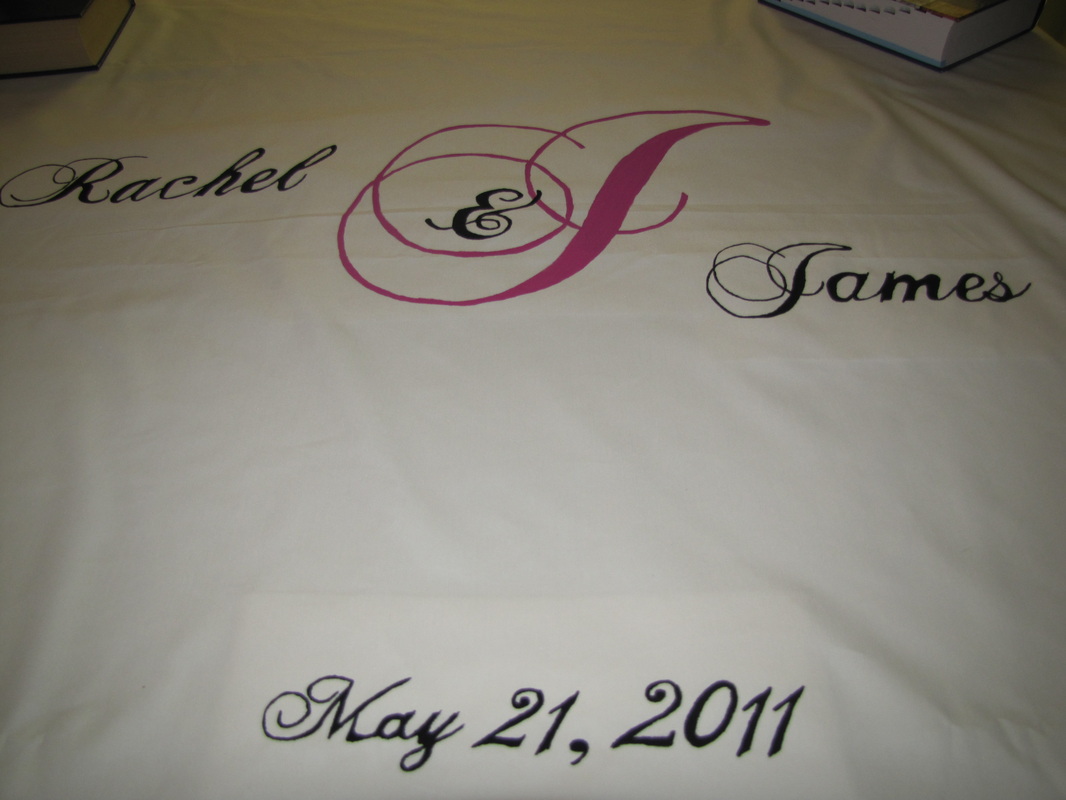
Aisle Runner
Sadly, this was my most dreaded DIY project, yet it was one that I couldn't pass up. I've been dying to do this since we were first engaged. I followed The Road to the Aisle's instructions, for the most part. :) I bought my paint and brushes at Michael's. The fabric is from JoAnn's. I was thinking that the fabric would be too thick for me to see through to trace, but I was BARELY able to see MOST of it. I printed everything the first time, and it was WAY too big. Second time was perfect. I taped them all together and folded the extra white paper to keep it out of the way. Then I taped it to our (expensive! :S) table. We measure down about 7 feet and held the fabric down with heavy nursing books :). I traced as best I could. We then put wax paper on top of the paper I used to trace, and put the fabric back down. I started with the pink J, then worked my way to the right. Then I did the & in the middle, then my name. Lastly, I did the date. Obviously, I had forgotten the comma in the date when I was tracing. I realized this as I finished painting. I free-handed that, along with the dreaded "s" in James and half of the &. All in all, I think it went pretty well.
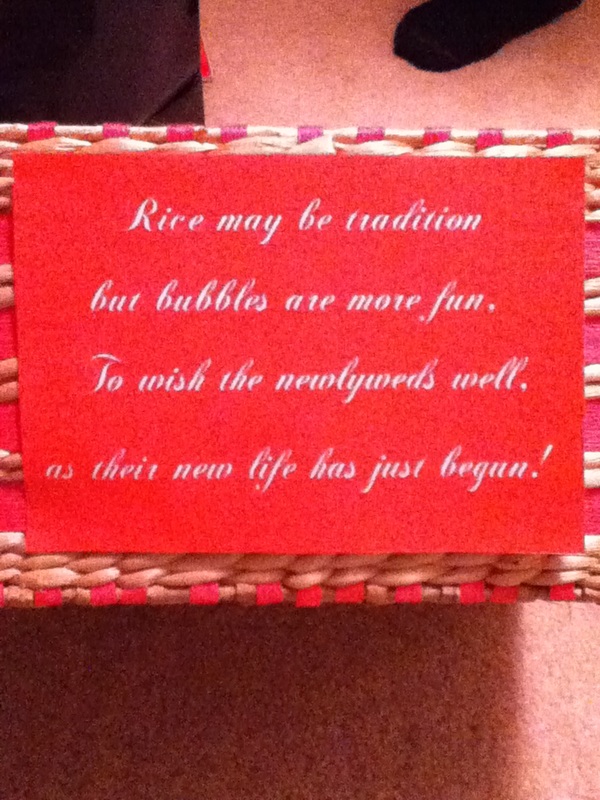
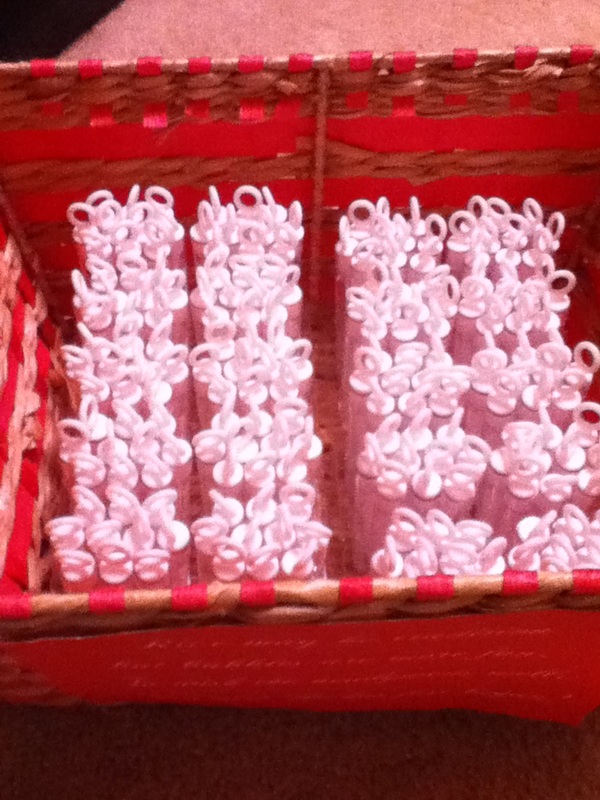
Bubbles Basket
The basket was on clearance at Michael's last summer. :) Originally, I'd planned on using it for the programs, but the paper we ended up using for them won't allow them to stand up, so I decided to use this for our bubbles instead. I was going to use ribbon around the sign, but we decided that the basket was enough without ribbon. Forgive me for the blurry iPod pic. I used double-sided tape to put the sign on. The bubbles were on sale at Michael's. I wanted to put ribbon on them, but decided against it for time's sake, and the fact that everyone will most likely throw these away after use. We left the bubbles in the plastic holder, which you can't even see until they're all out of it that it's even there. :)
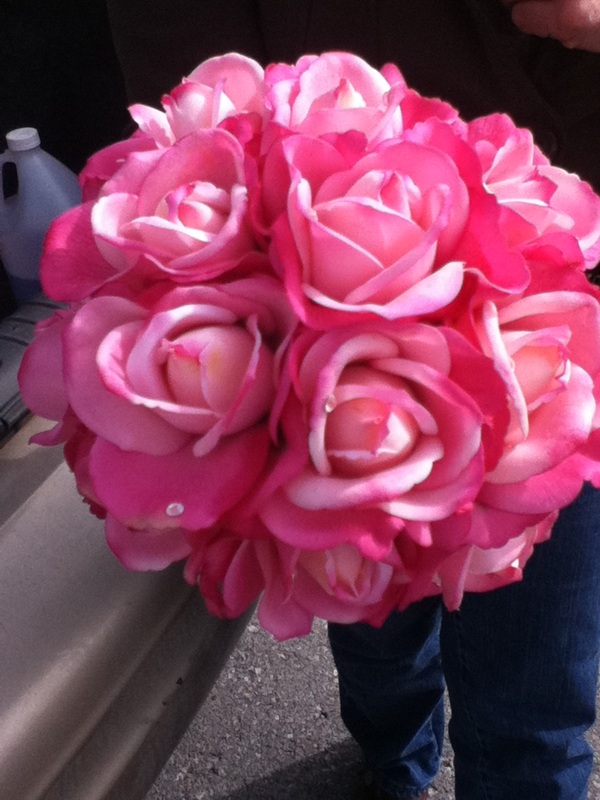
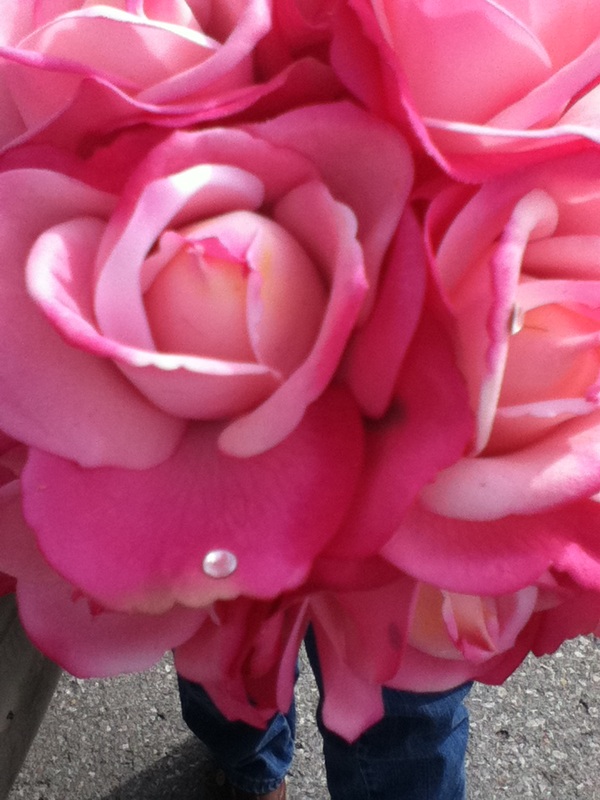
Flowers
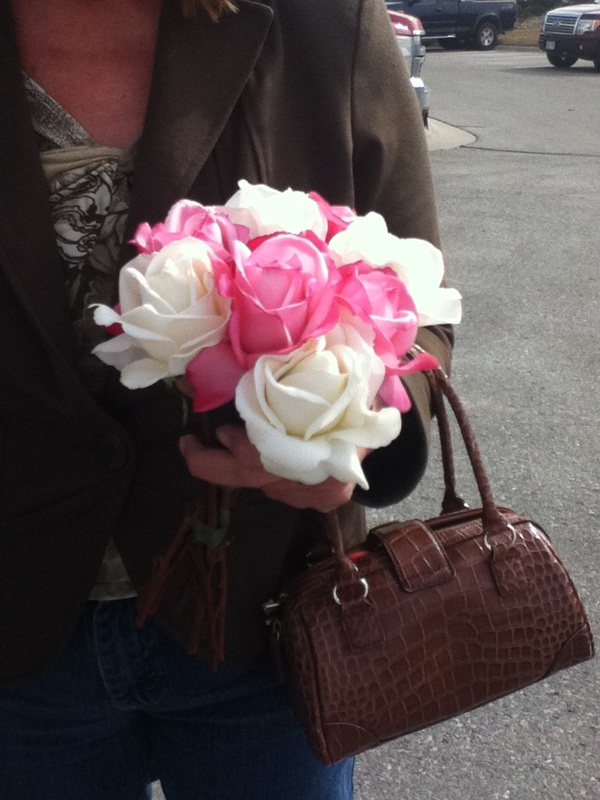
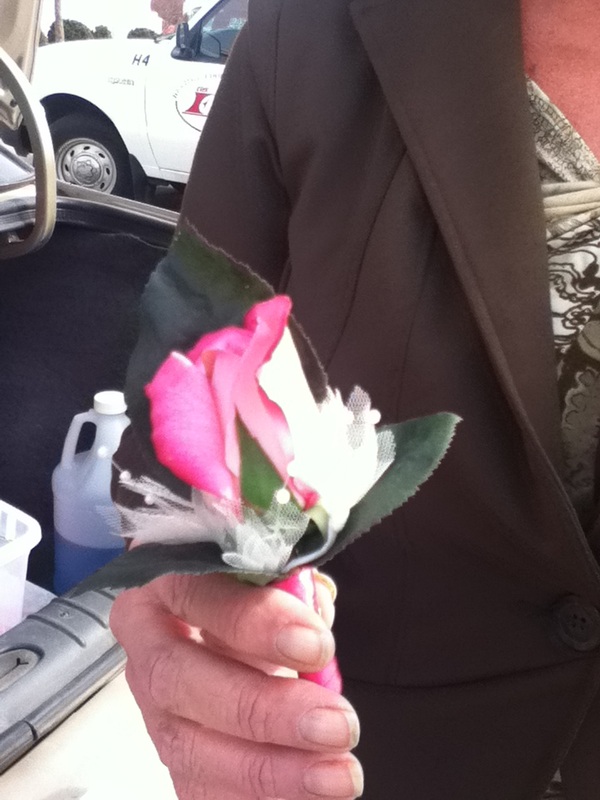
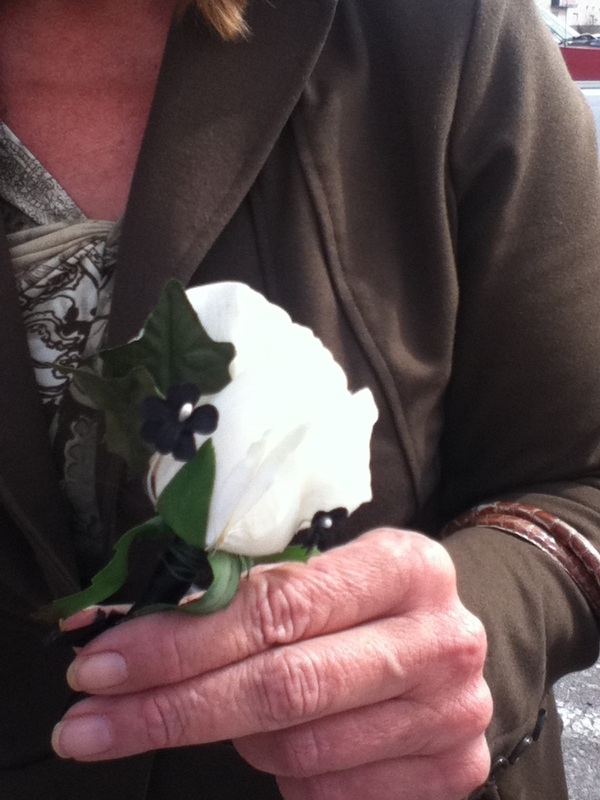
I knew we would be doing fake since Jim is super allergic, and I don't care either way. We bought the real-touch flowers at Hobby Lobby (ONLY ON SALE!). I kept changing my mind on the colors, but I decided that mine will be all pink, and the girls will have pink and white. I had seen a picture from an online store that had jewels stuck onto the petals, so we bought bigger rhinestones at Hobby Lobby and my mom glued those onto my bouquet. It still needs wrapped, but otherwise they are done! The Jr. Bridesmaids is the smallest, of course.


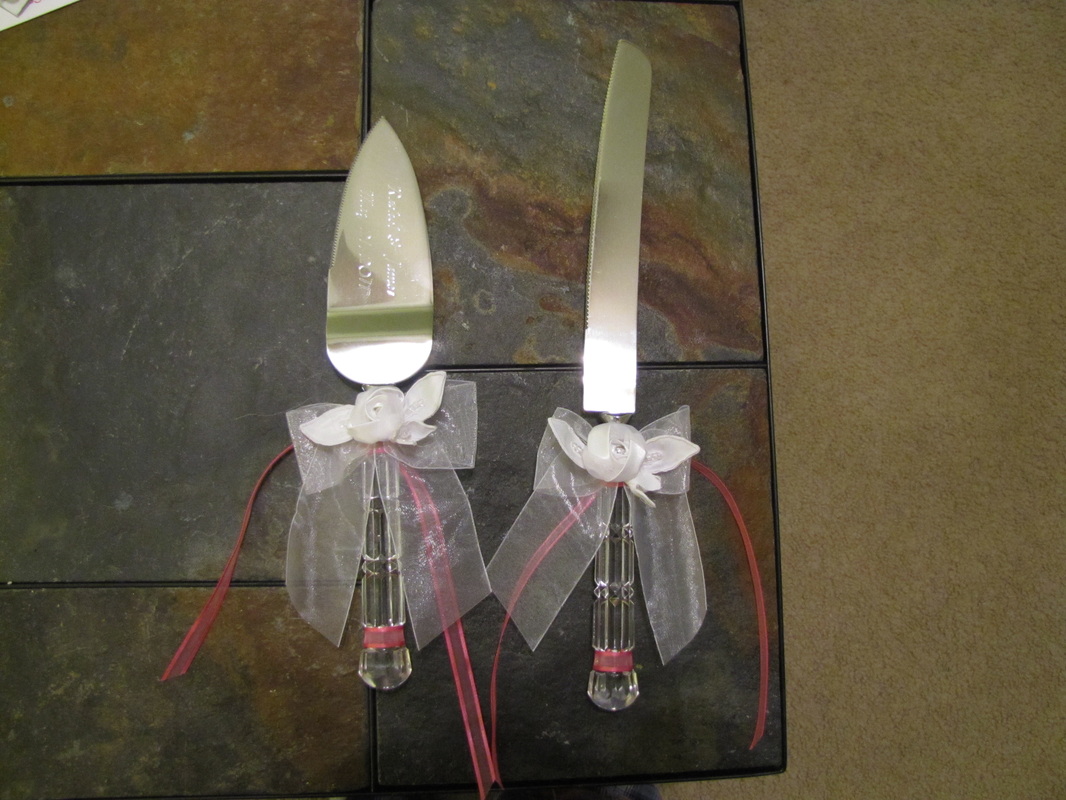
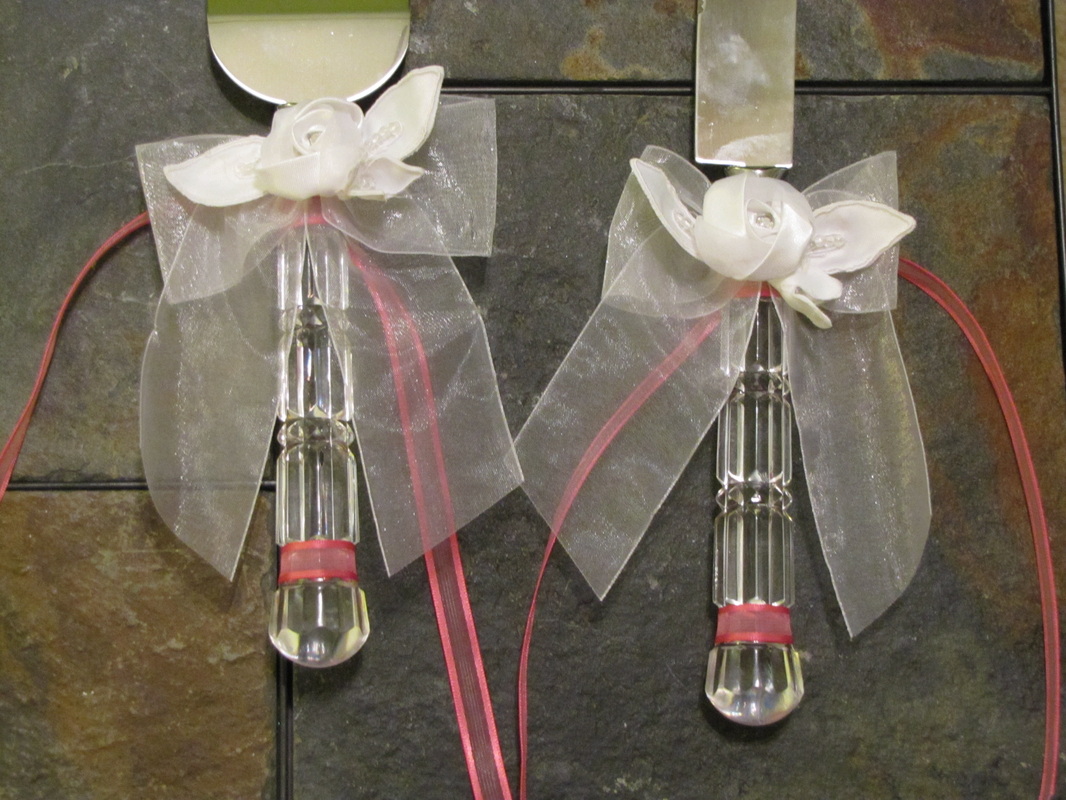
Cake Serving Set
Well, this isn't completely DIY, but I did add to it. :) I ordered these and had them engraved through Oriental Trading Company, but they're awfully plain. I was going to completely remove the ribbon and rose and change the ribbon, but when I started to, it seemed like the rose was tearing apart, so I just added ribbon behind it and around the bottoms. I haven't decided if I really like them like this or not...
Guestbook
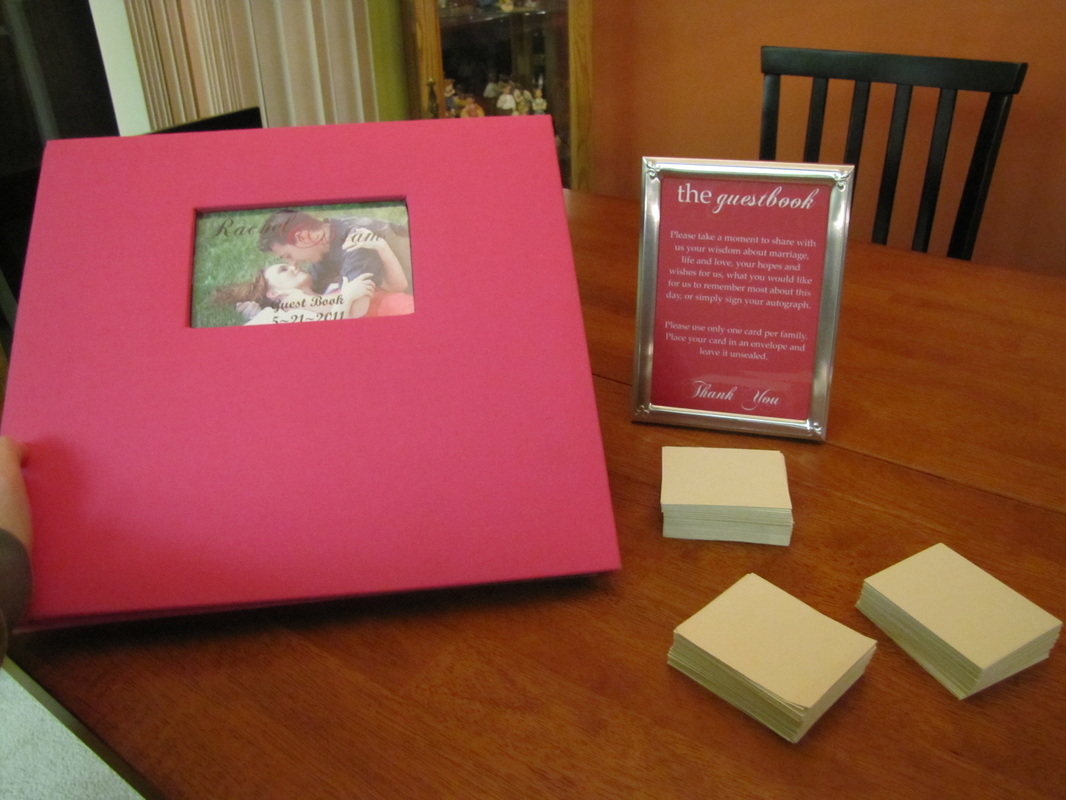
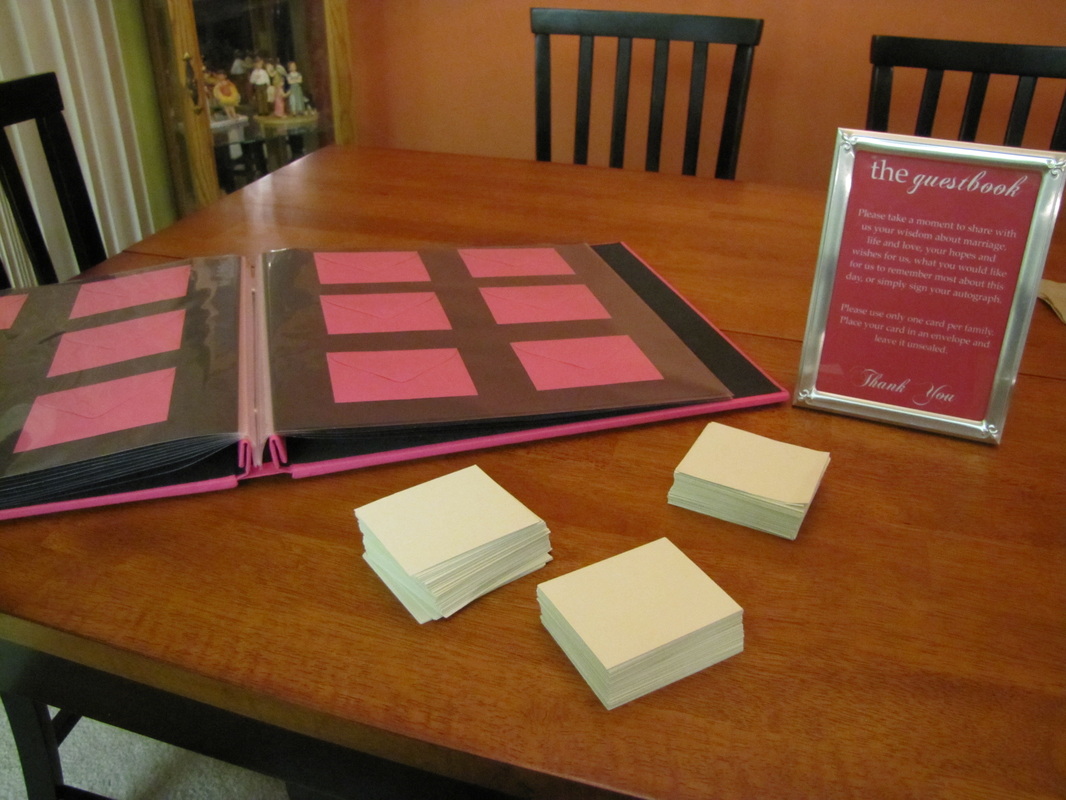
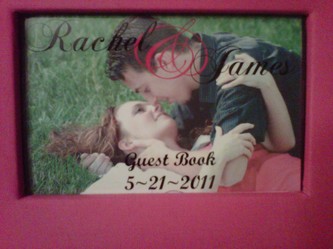
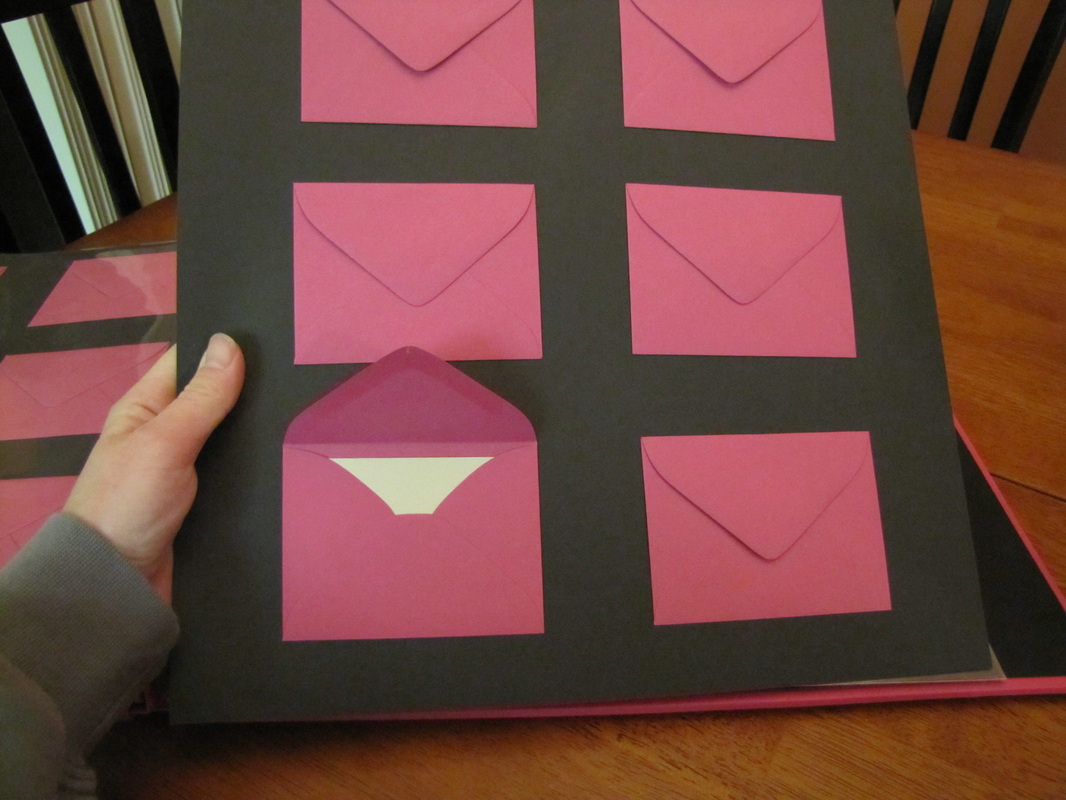
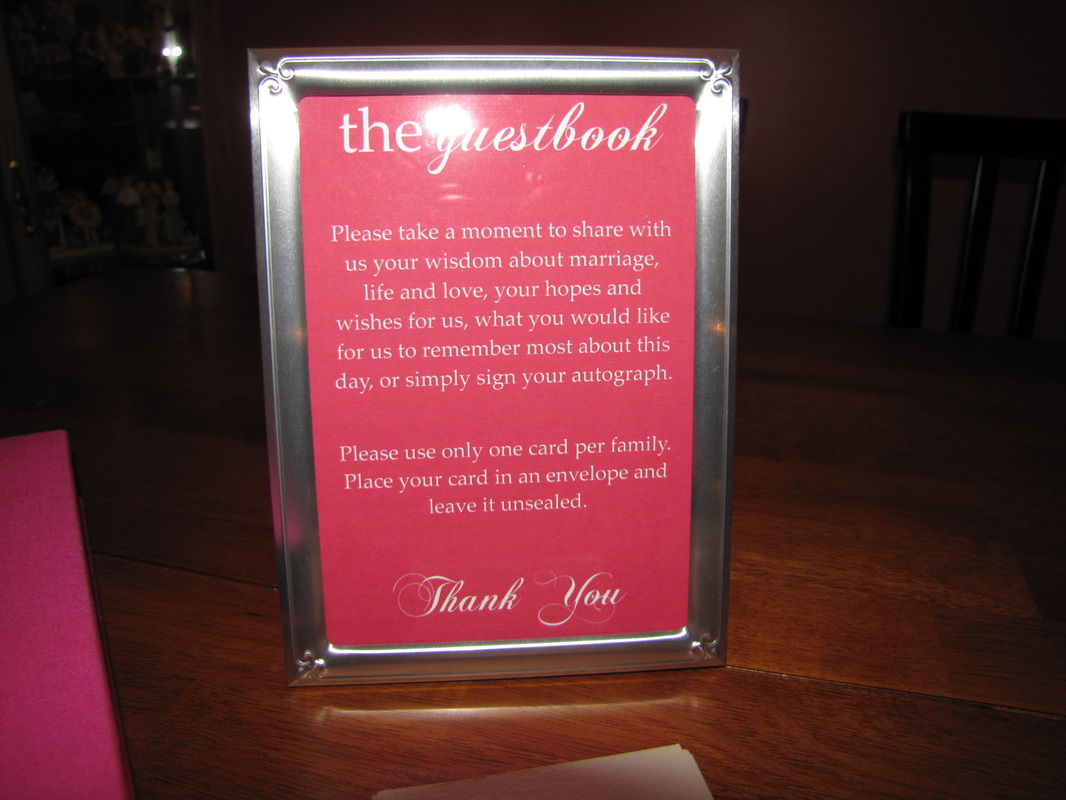
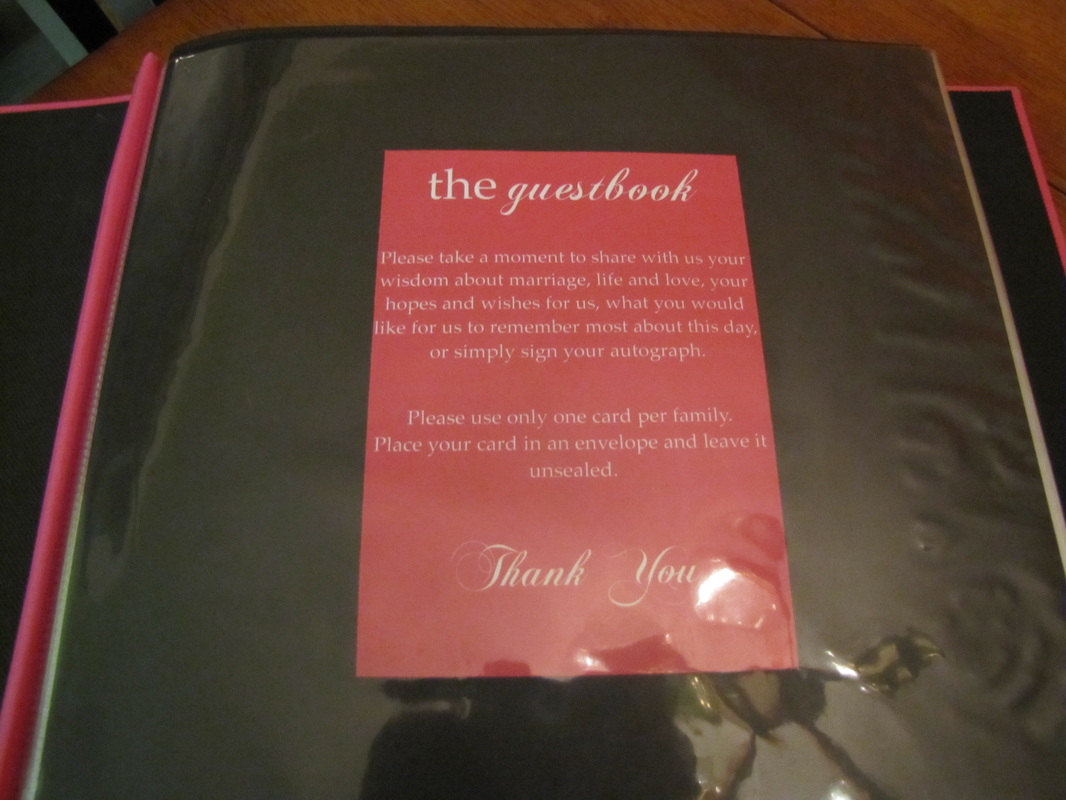
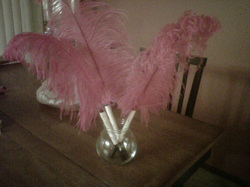
Here it is! It's FINALLY done! I wanted a well wishes book-type of thing, but was not thrilled with the price or the plain books I'd found online, so I thought, THAT LOOKS EASY! It did take me a while to find the envelopes, but I had ordered samples in the beginning of our engagement and decided Action Envelope would work out best for these mini-envelopes. I found a cute scrapbook at Michael's and used a coupon, printed our picture on photo paper for the front, and bought extra 12x12 black cardstock and page protectors. I then used double-sided tape and taped the envelopes on each side of the cardstock, except on the very first page, which I taped a duplicate of the "directions sign" I'd made for guests to read prior to signing, and then put envelopes on the back of that page. I used 2 coupons for Archiver's and got 20 sheets of Vanilla Creme cardstock for the price of 10. I cut the cards into 2.5x3 cards (after a few trials of putting them into envelopes until I liked how they fit. I made a total of 224 cards...I ended up wasting a little bit of paper due to trial and error...and more error. :) I figured I can buy more sheets if needed, but the guest list is around 250, and I'm asking guests to use one card per family. I'm super happy with how it turned out. It did end up costing me way more than I wanted, but even Jim said he really liked the idea and to go for it. The pens are black markers wrapped in ivory ribbon and fuscia feathers coming out the top. I bought these from fellow local knottie *tricklet17, but one of them snapped in the envelope. I really wanted 3 pens to have to use, so I bought a VERY similar feather from Hobby Lobby, removed the ribbon and redid it, using glue dots all way back up. I had to trim it a little bit, so it's just a little bit shorter than the others. They're in a drinking glass in this pic, but I will get a plain glass cup or vase for them.
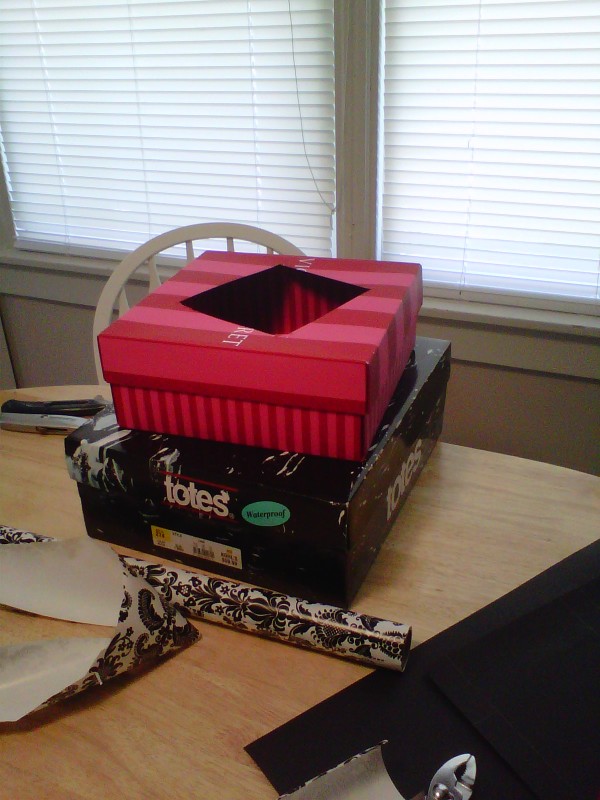
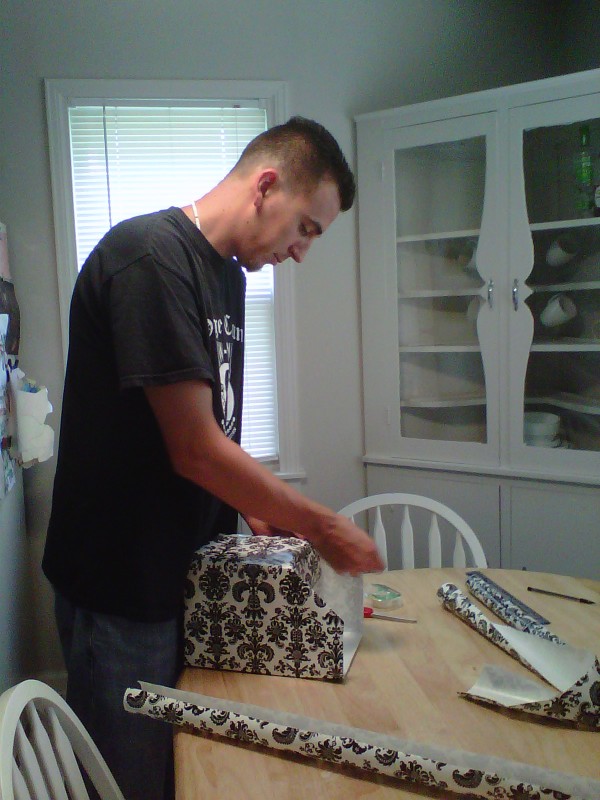
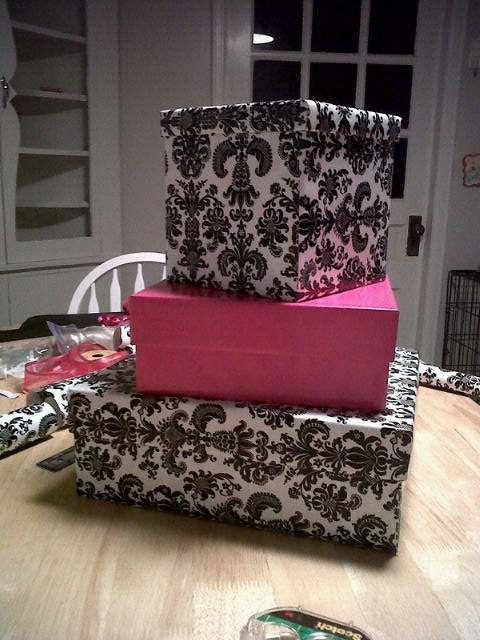
Cardbox
I LOVE LOVE LOVE the cardboxes that I have been seeing other brides making, especially the ones that look like presents. What a neat idea! I was going to buy boxes that would tier perfectly, but then I thought…I like the idea of them looking like real presents stacked imperfectly, like our real gifts probably will be on the gift table. I already had the bottom two boxes (the bottom box was a snow boots box, and the middle one was a Victoria’s Secret gift box, and I bought the top one at Michael’s and used a coupon. I found the paper at Michael’s and used coupons (of course). Jim is EXCELLENT at wrapping (For birthdays and Christmas, I do the shopping, he does the wrapping J)…he is really good about not wasting any paper, so he wrapped them for me. We cut a hole in the top in front of the bow, and then just cut big open holes through the bottom of the top box, then the top and bottom of the middle, and lastly, the bottom box. We will have to break it open to get the cards out, which is fine with me since everyone recommends using a locking cardbox anyway. I tried to make a bow for the top but was unsuccessful. I found a huge bow and placed it on top. I used some extra sheer/pink wired ribbon and cut notches for the “ribbon” part of the “presents” and used double-sided tape to keep them under the bow. I was going to buy little wooden letters to spell “CARDS” and paint them, but in order to save a little money, I decided to use stencils and some extra black cardstock that we aren’t using and made “THANK YOU”. I used rubber cement and stuck it on the front so that guests will know they aren’t actual gifts and to place cards in it. All we have left to do is glue or tape them all together, but we kept them apart and placed them in garbage bags to keep dust off of them and are storing them up high where the kids and animals can’t get to them. I am going to try to place the gift table away from the doors. I’d rather be safe than sorry!

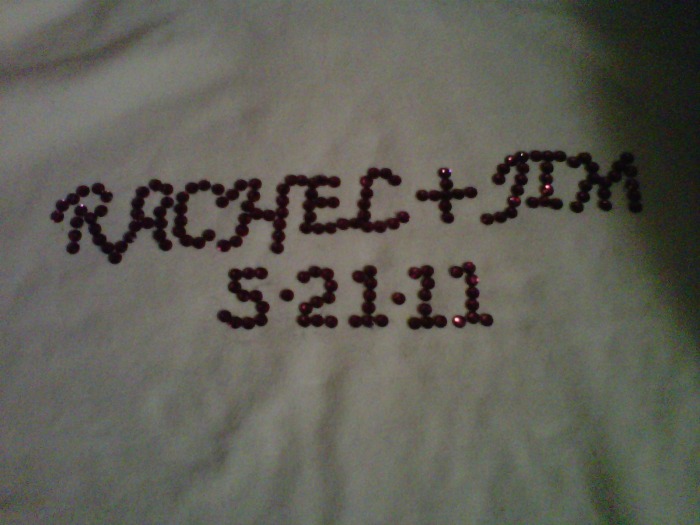
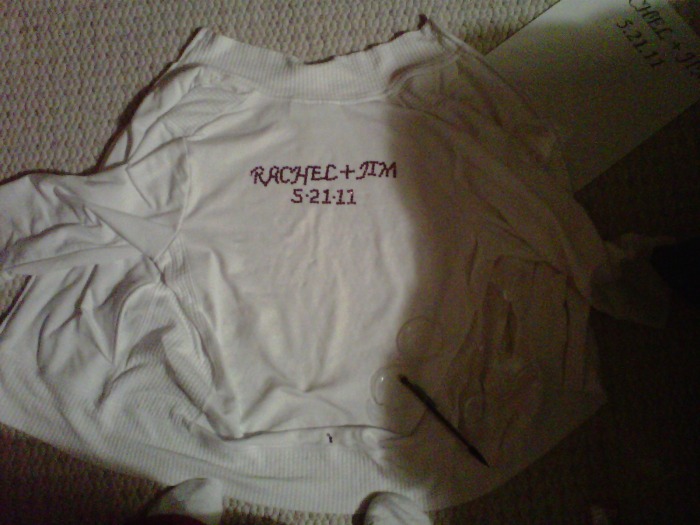
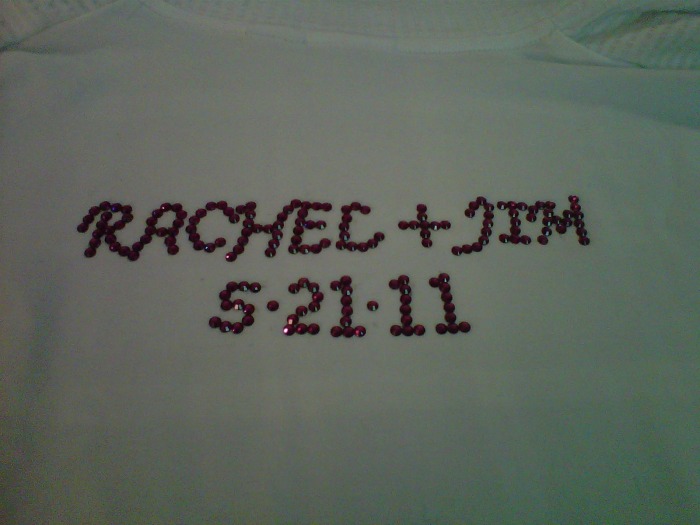
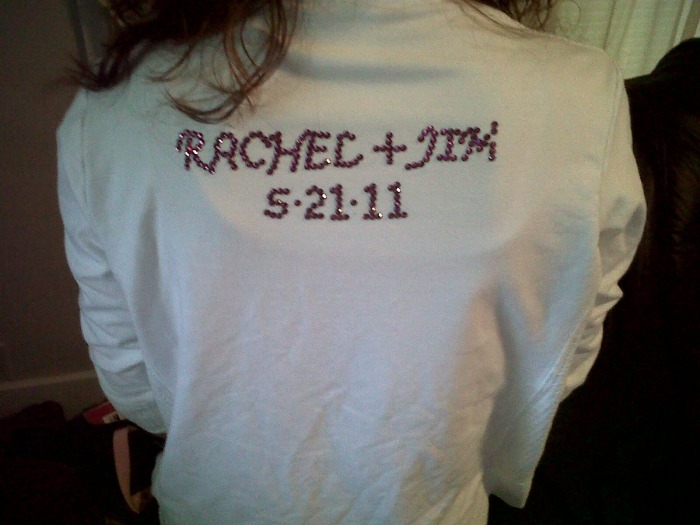
Wedding Day Jacket
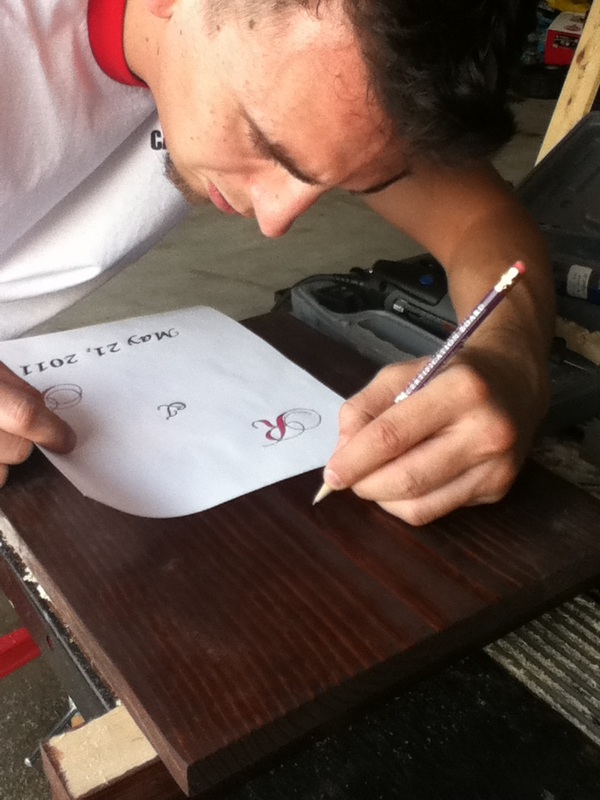
I knew I wanted a personalized jacket to wear on my wedding day while getting ready, but I wasn’t willing to spend a ton of money on one, and I didn’t want one that just says “Bride” on it…I would like to be able to wear it again after the wedding. I had found the perfect pink crystals at Michael’s and they were on sale, so I bought a bunch. I knew I didn’t want a long-sleeve jacket, since our wedding will be in late May, and knowing Nebraska..it could be 50 degrees, or 90 degrees, so I want to play it safe. I looked online for a cheap white hoodie. After an unsuccessful hunt, I scoured the mall. Again, unsuccessful. The only short-sleeve jacket I could find was at Younkers, and they wanted $60 for it! Ridiculous, right?! Later on, Jim and I ran to a different mall and he happened to see that same jacket. I shook my head and told him the price. He looked at it again and said, “No, it’s on sale.” WHAT?! He’s so awesome! It’s not a hoodie, but it is short-sleeve, comfortable, and not “cheap-looking”. I printed our names and the wedding date and then placed the paper over the back of the jacket. I didn’t want to ruin the jacket in case I messed up, so I used a pencil to poke tiny holes throughout the lettering. Once I took the paper back off, I had a general idea of where to place the crystals. I played with them until I liked the placement. I took pictures of it (I wasn’t home at the time) to see how many crystals I used with each letter/number and how they were placed, and then once I was home, I was able to replicate what I had done. I took an iron (I was not about to spend money on a tool that I would never use again) and placed it right on top of the crystals for about 10-20 seconds. Once they cooled, I did a quick iron-over again and let them cool. I made sure they were all on there really good and left it flat overnight. When I put it on the next day, one of the crystals came off, but I was able to iron it right back on, and I haven’t had any issues since. The picture where I am wearing it is missing one crystal in Jim’s name, but you get the idea. The other pictures show how it looks.
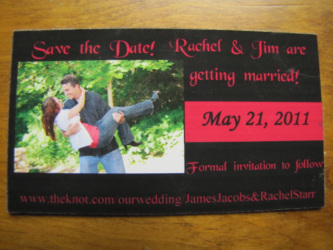
Save The Dates
These were my first DIY project, and I am so happy with them! I didn’t want to send just a plain old postcard or something that people would toss in the garbage. I have always liked the magnet idea, but not the price! I looked into making my own. I researched different STD magnets to get an idea of what I wanted. I spent probably around 10-15 man hours working on my own template, which was a HUGE PITA! I found a seller on eBay selling business card-sized peel and stick magnets. I got 300 of them for $28 and free shipping! They are heavy, thick, and hold really well on the fridge! I made my template business card size and bought printable business card paper at Wal-Mart. Jim fixed the layout so they would print on the paper correctly and printed them out for me. I then punched them out and stuck them onto the magnets. I found out very quickly that I had to really watch how I placed them on there. Once they’re on, they are NOT moving! I wanted to place the magnets on something so that they wouldn’t be flopping around in the envelopes. I found really pretty cardstock, trimmed it down to fit in the envelope and used a single gluedot with each magnet. I’ve received so many compliments about these cute little things…my mom of course bragged that I made them, but many people say they can’t tell! J I had to pat myself on the back..being my non-crafty self, I think my first DIY project went pretty darn well! Sadly, I sealed them already, so I do not have any cardstock to show how I had these set up, but here is the magnet itself!